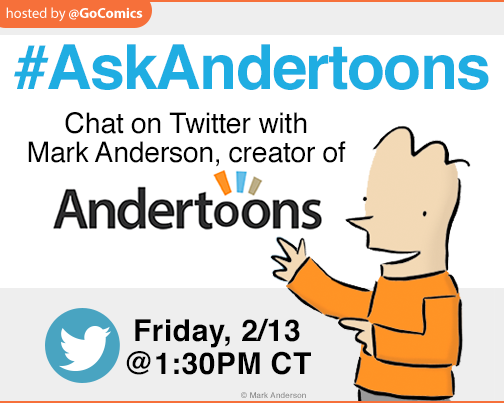
Hey, the good folks at GoComics are hosting a live Q&A with me on Twitter this Friday at 1:30 PM CT.
So if you have any questions, now’s your chance! See you there!

The cartoon blog of Andertoons cartoonist Mark Anderson. He discusses his cartoons, cartooning, comics and, oddly enough, LEGO.

Hey, the good folks at GoComics are hosting a live Q&A with me on Twitter this Friday at 1:30 PM CT.
So if you have any questions, now’s your chance! See you there!
I’m super excited and honored to announce that I’m going to be speaking at the 2015 National Cartoonists Society Reuben Awards! Perhaps even better, I’ve been caricatured by Mad’s Tom Richmond for the brochure cover! (I’m second in from right under the flag with the glasses, hat, and the giant, and sadly quite accurate, nose.)
You won’t believe the other people speaking:
Wow, huh?
I’ll be talking about how I got started cartooning, how I make a living online, and my many spectacular failures.
Hope to see you there!!

Happy New Year everyone!
Did you know calendars repeat occasionally? There’s a 28 year cycle wherein certain years will begin on the same day of the week as other years. (There’s a more detailed explanation here.) For example, 2015 has the same days and dates as the years 2009, 1998, 1987, 1981, 1970, etc… Neat, huh?
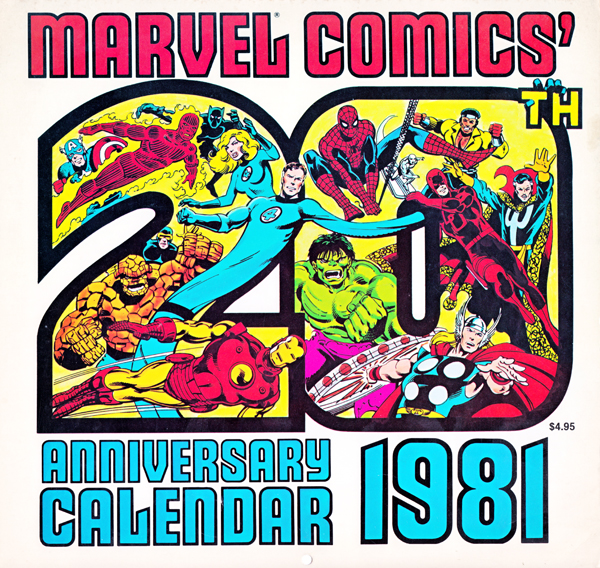
So while there’s a lot of nice 2015 calendars out there, I’m going a little old school and using this 1981 Marvel Comics calendar instead. And as long as I was scanning everything in, I thought I’d share them!
There’s some amazing work here: Bill Sienkiewicz, Joe Sinnott, John Romita Jr., Frank Miller, George Perez… WOW!
Click on the images below and you’ll get nice big 2560 x 1200 images with both the top image page and the bottom calendar page. Feel free to grab them and use them as some awesome desktop wallpapers.
Have a Marvelous 2015/1981!
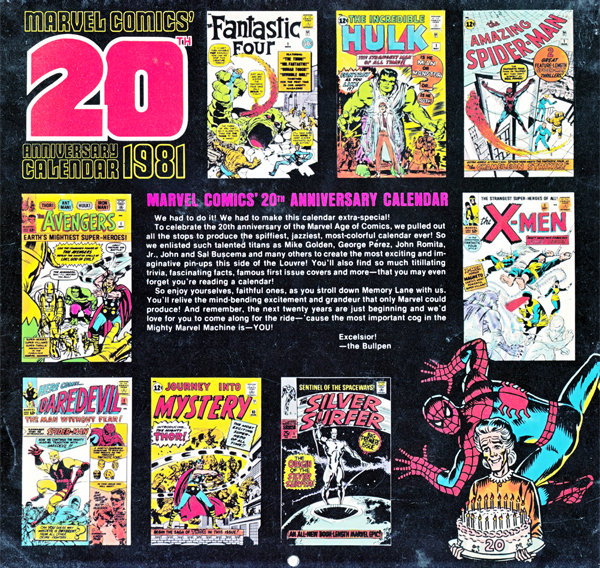
And here’s the back cover…

Happy December!
Just a reminder that if you’re using my 1975/2014 Marvel calendar for your desktop wallpaper, it’s time for one last update.
Click on the image below for December’s 2560 x 1200 image:
Wanna grab the other months? Here’s all 12 for you!
Enjoy!

Every year around Thanksgiving I send out a gift to clients, vendors, and prospects. I try to be creative and have sent stuff like:
But. as you might know, LEGO has a special place in my heart. (Check out my Pigeon, Catwoman, and A-Z Spaceships) So, after many years of consideration, and a few months of planning and execution, I finally achieved what I think is the best thing I’ve sent out yet – a custom LEGO set of me at my drafting table, complete with instructions and custom printed parts!
As I said, this took a while to figure out, so I thought I’d share with you, step by step, how I did it. Enjoy!

I’m quite fortunate in that, being an AFOL, I have a pretty sizable LEGO collection laying around. So I just dug in and started building.
I first tried some building with some brackets and hinges making the tilting drafting table and legs, but things never quite lined up right. Then I tried some modified plates and tiles, which worked better, but might have been more difficult for people who don’t build with LEGO as much as I do. I finally landed on an easier to build design with traditional hinges and a simple, but quite accurate, lamp made out of just 4 pieces.
It wasn’t pretty, but it worked. And, more importantly, the pieces needed were available in the colors I wanted at a reasonable cost.

BrickLink is like LEGO heaven. It’s an unofficial marketplace where people can buy and sell nothing but LEGO pieces. Need a few hundred jumpers? Some plants to dress up your project? Looking for that rare white Boba Fett minifig? It’s all there.
To make things easier, I created a wanted list and sorted for quantity, condition, and location. I ended up ordering from 16 different vendors (including 1 in Norway) and waited for my parts to arrive.

Every summer my son and I go to Brickworld here in Chicago. It’s a great place to chat with other LEGO builders, share ideas, marvel at their creations, and do some shopping.
In recent years there’s been an explosion of custom items including some high quality and very LEGO-esque custom printing. One of my favorites is Citizen Brick, not just for the quality of their printing, but for their sense of humor.
I contacted them about printing two different pieces for me: a modified tile for the table top, and a minifig torso. Their pricing was quite reasonable, so all that was left was for me to deliver the images I wanted printed.
I already had my logo in an EPS format, but the cartoon required taking some line art from Photoshop into Illustrator and tinkering with Live Trace until it was just right. After sending over the files and waiting a few weeks, Citizen Brick delivered some really terrific custom printed pieces that look like LEGO might have done them themselves.

The other daunting obstacle was creating instructions the recipients could use to build the set themselves. After a bit of research I found a really informative post at Bskog that got me 95% of the way there.
I had some familiarity with Bricksmith, but I needed to update my parts as I was missing the famous cheese wedge for some reason. After recreating my model step by step, I saved it moved onto familiarizing myself with LPub.
LPub took a bit to set up. I downloaded LDView and told LPub where it was, but the LDraw root directory path had me stymied for a while. I eventually located the LDraw parts.lst here, saved it, copied it to the correct location in Bricksmith, and directed LPub to it. (More info here.)
But once LPub was set up and I tinkered with the configuration, it produced a really beautiful set of PDF instructions!
Then I created a cover and back cover in Photoshop, sent the whole thing over to SmartPress, and I had my instructions soon after.

Now that I had my standard parts, my custom parts, and my instructions, it was on to the packaging.
I ordered a couple different sample boxes from Uline as I wanted one box for the set, and another for shipping. I settled on their S-15138 for the set, and S-16648 for shipping and they fit perfectly. I also ordered some 2 Mil poly bags to protect the custom printed pieces in transit, and contain all the pieces in the box, just like LEGO does it.
Then it was back to Photoshop to create the image for the outside of the box, which took a while to get just right. After some research I chose Sticker Mule to print up the rather large stickers, and they arrived about a week later.

Once I had everything I needed from all the different vendors, I set up in our family room and assembled everything over about two weeks in the evening while watching TV with my wife.
Putting all the pieces in the poly bags was probably the worst part as I was constantly paranoid about the possibility of missing a part. So every time I started putting in a new part, I checked the bag for the last part I had put in to make sure I hadn’t missed it.
There are only 25 pieces in total, and some of the pieces repeat, but it was probably 15 rounds or so of counting, filling, checking, etc…
Then there was the box assembly, sticker application, packing the piece bags and instructions, and then more boxing to put the whole thing together. Whew!

I used Endicia to print up all my shipping, and after a few trips to various local post offices, all of my custom LEGO sets were on their way.
My hope is that clients and vendors will really enjoy a unique gift, and that my prospects will be sufficiently surprised by the whole thing that I get some press and/or some new business. But mostly it was a really fun challenge from beginning to end, and I finally got to create my very own custom LEGO set!
Here’s a few more pics for you. Enjoy:


