LEGO Pigeon

LEGO Mo Willems' Pigeon

LEGO Mo Willems' Pigeon

LEGO Mo Willems' Pigeon

If you have kids at home you’re more than likely very familiar with Mo Willems’ Pigeon. In addition to trying to drive a bus, he’s found a hot dog, tried staying up late, and asked for a puppy.

Being a cartoonist with kids at home and wife who’s a teacher, needless to say, I’m a big fan. So it only makes sense that I build Pigeon in LEGO!

Designing LEGO Pigeon

Here’s the image I started with:

Pigeon

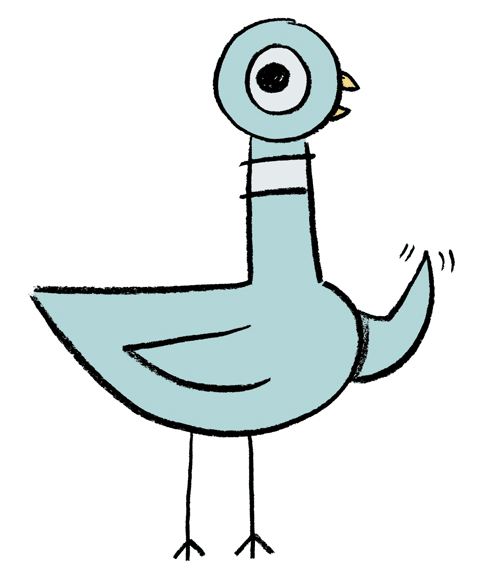
Pigeon’s head is basically a sphere, and his body is like another sphere with a cone attached, so I headed on over to Bram’s Sphere Generator for a little help.

I wish I could explain exactly how it works (unicorns?), but if you put in how many LEGO studs wide in diameter you’d like your sphere, it generates an LDraw file that shows you how to create 6 rounded side pieces that can be attached to a cube to make your sphere.

Here’s an example of a single side in Bricksmith:

lego pigeon sphere 1

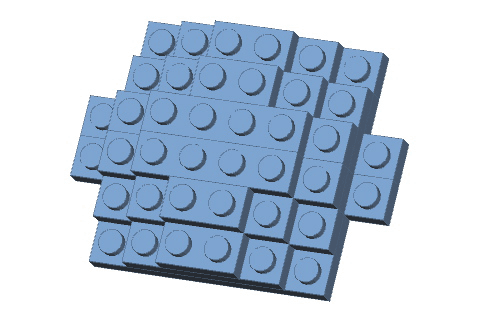
And here’s 6 sides put together to make your sphere:

lego pigeon sphere 2

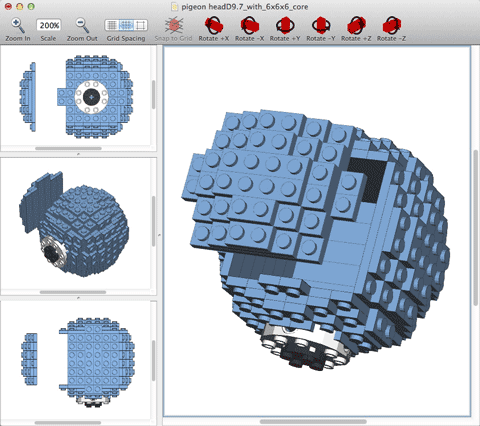
Pigeon’s head is 9.7 studs wide on a 6 x 6 x 6 SNOT core. The body is built on the same core, but it’s 11.8 studs wide. After getting the basic idea of how to construct it and which pieces I’d need, it was off to Bricklink to order parts!

It took three different orders (one from a seller in France) and about two weeks, but soon I had what I needed to get Pigeon built!

lego pigeon pieces

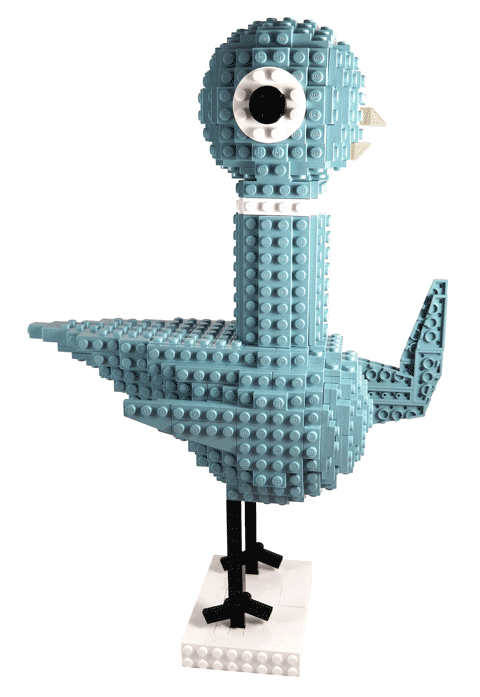
Now I’m sure you’re noticing that the color blue pictured is different that what Mo uses. The trouble here is that while LEGO has a number of blues to work with, some have a limited number of parts, and some are very expensive. So I went with the reasonably priced and part-rich medium blue.

BTW, I did play with an image in Photoshop to get him to be the exact color:

LEGO Mo Willems' Pigeon

It kind of feels like cheating, but there’s only so much available in Light Aqua.

Building LEGO Pigeon

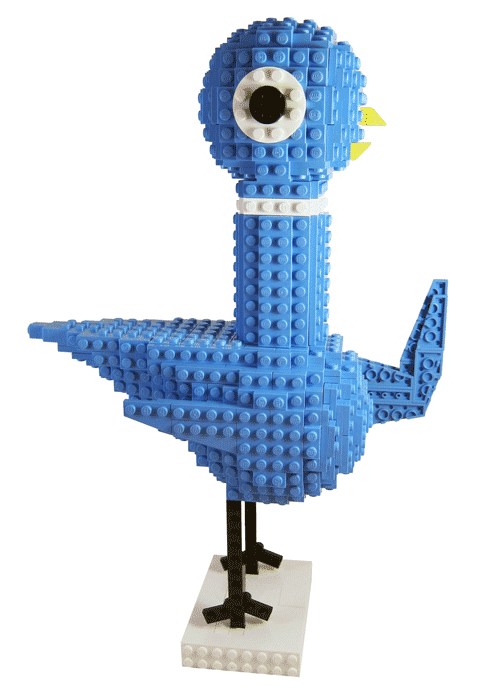
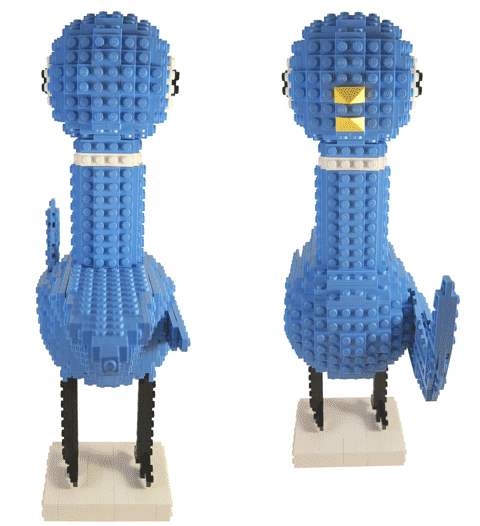
The head and neck were relatively simple builds:

LEGO Mo Willems' Pigeon Build 1

LEGO Mo Willems' Pigeon Build 2

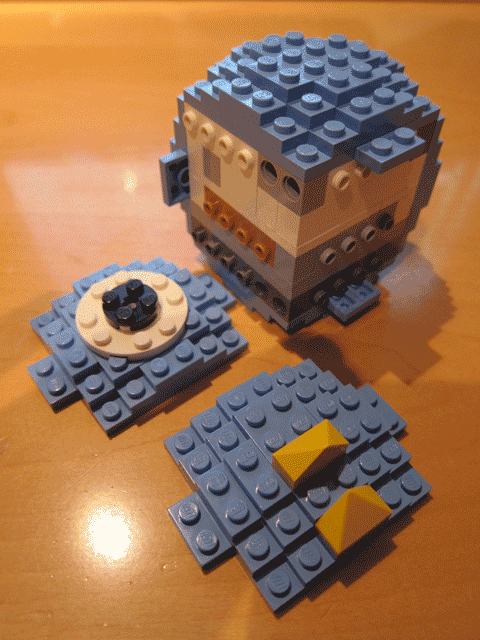
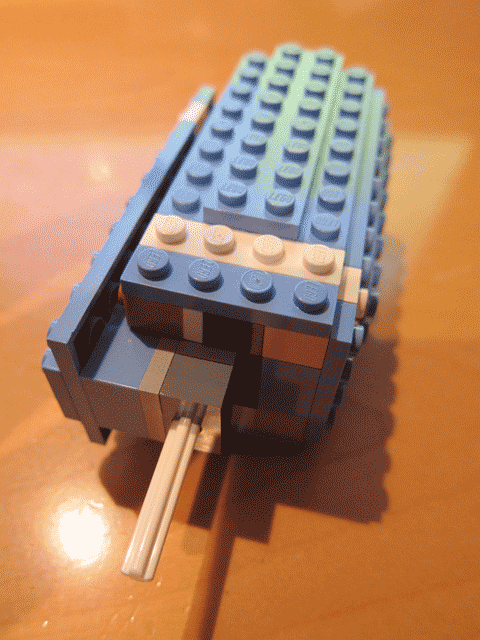
But the body required quite a bit of trial and error to get right:

LEGO Mo Willems' Pigeon Build 3

LEGO Mo Willems' Pigeon Build 4

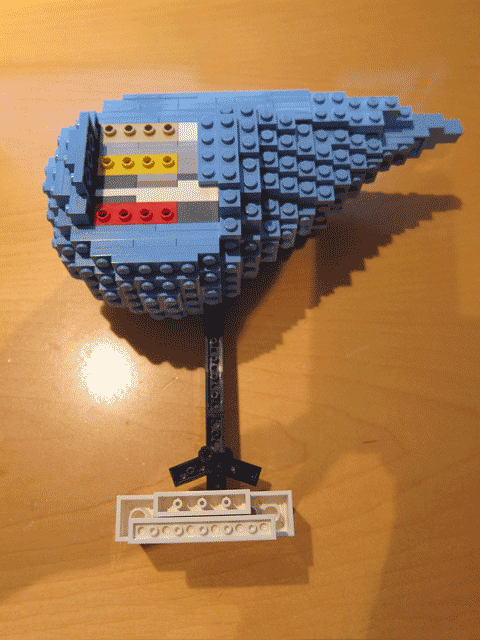
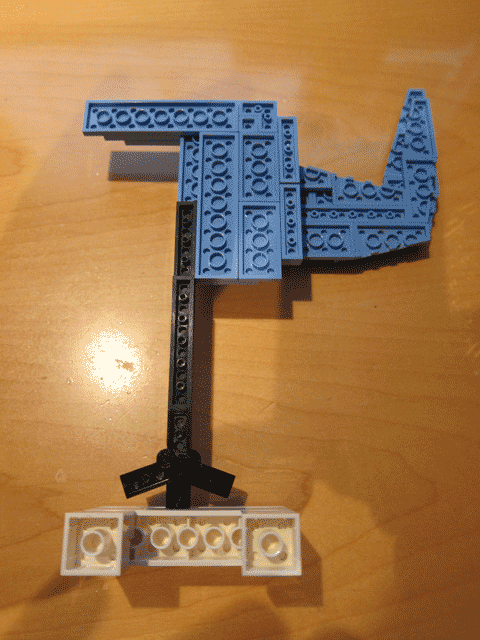
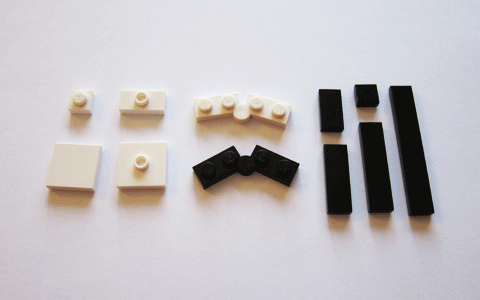
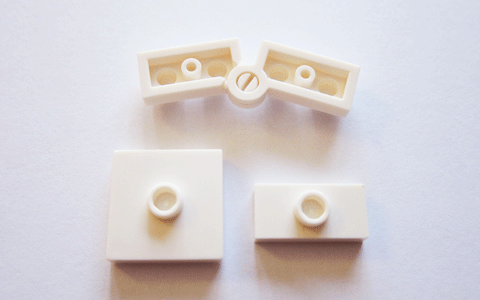
The head, neck, and body are attached via axles and Technic bricks and plates. The feet are anchored in a base so he can stand, and the toes are simple hinge plates.

So that’s my LEGO Pigeon! I hope you enjoy him, but whatever you do, don’t let him drive any LEGO buses, OK?

LEGO Charlie Brown Line Art

A while back I created a LEGO Catwoman line art piece that garnered not only some attention, but won me all of the 2012 Batman sets too!

I’ve since been looking for another opportunity to test the technique further, so I dug into my cartoon books, found an image I liked and, voilà, LEGO Line Art Charlie Brown:

LEGO Charlie Brown Line Art

Click the above image to see it really really big!

Here’s the panel I used as inspiration:

Charlie Brown cartoon

And here are a few closeups of Chuck:

LEGO Charlie Brown face closeup

LEGO Charlie Brown hands closeup

When I did the Catwoman MOC I got a lot of comments that it didn’t look like LEGO. Which is very flattering, of course, but it also worried me just a bit that people thought I might be simply laying pieces on top of tiles, or using some other sort of cheat. So I wanted to share a little bit of the construction to show how the technique is achieved with standard plates, tiles, and hinges.

I start with a bin full of all kinds of black and white LEGO:

black and white LEGO pieces

But mostly what I use are these:

LEGO Charlie Brown line art pieces

What you’re looking at above:

The basic idea is that you create your lines using tiles and hinges…

LEGO Charlie Brown art hinged line

Then anchor them to the baseplate using plates and jumpers. For example, here are the anchoring studs for Charlie Brown’s head:

LEGO Charlie Brown line art studs

Jumpers offer another advantage in that the stud top is hollow allowing for placing connecting pieces either traditionally between the edges and the tube, or using the tube underneath as an anchor point:

LEGO Charlie Brown jumpers and hinge

In the tightest curves (Charlie Brown’s hands for example), I use a 1×2 tile both for its small size, and its lack of a tube underneath:

LEGO Charlie Brown tiles 1x2

Without the tube you’re free to slide the 1×2 tile on a stud to get even more flexibility in placement.

Then you fill in the rest of the baseplate with tiles the same color as the hinges to help hide them.

I tried counting pieces as I went, but I sort of lost track as I got deeper into the build. But if you’re looking for an estimate, it’s probably right around the 2000 mark.

So there’s how I got my Charlie Brown LEGO Line Art MOC to work. I took some liberties with the original art, but I think he turned out pretty well. I’m especially happy with the expression on the face, which, for me, is the most important element.

Hope you enjoy it, and stay tuned for more upcoming LEGO projects!