

Hey everyone! New cartoons are up!
Day: July 1, 2011
Friday Small Business Trends Cartoon

My Cartoon Process
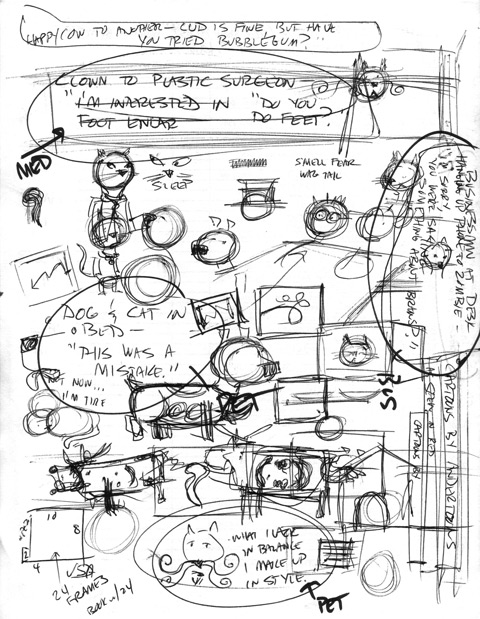
Today I’m finishing up my new batch of cartoons for July. And this morning while scanning I discovered that for one cartoon I had a very clear visual progression of my process from beginning to end, so I thought I’d share.
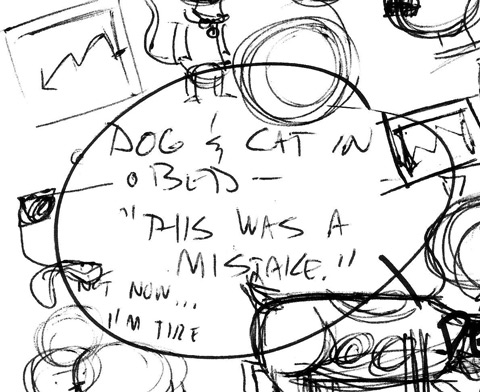
Here’s the sheet where the idea is. It’s kind of hiding in amongst the doodles:
Here it is:
To be honest I wasn’t sure if it was even funny, so I ran it past my wife who chuckled (although, like me, she couldn’t quite figure out why) and then I sketched it up:
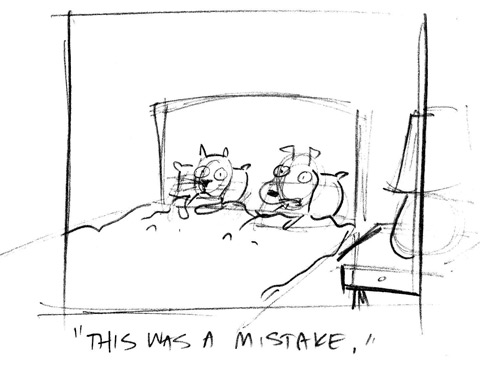
The thing about a sketch is you never really capture that initial vibe again. For me this is the best this cartoon will ever communicate visually, but unfortunately it’s not something anyone would publish.
I draw that box there to frame the image and let me know what I need to include, and what I can leave out.
Now on to ink:
This is a rejected ink. The look on their faces is off and that lamp on the side is waaaay too big.
Normally I’d fix it in Photoshop, but there’s enough here that I don’t like that I decide it would be more efficient to just start over.
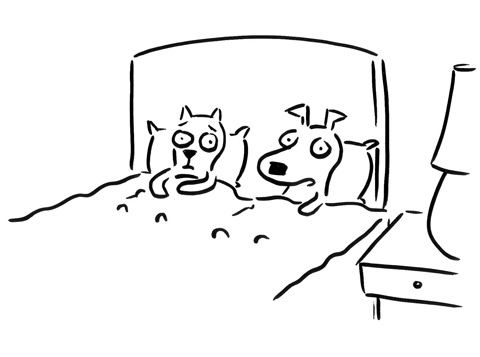
Here’s the final ink for the cartoon:
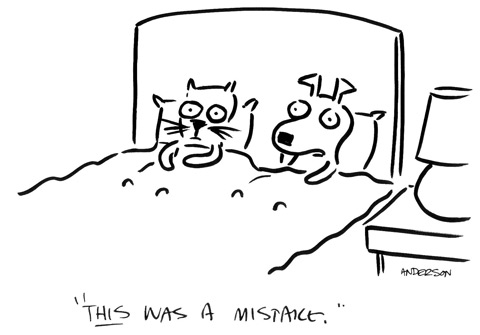
I feel like I got the vibe as close to the sketch as I could. Also at this point I’m considering putting “this” in italics in the final. You’d be surprised how little tiny writing changes like that can make a difference.

Here’s the final version of the cartoon with the caption typeset (no italics BTW) and the shading.
I chose not to shade anything else in the room to keep the focus on the dog and cat. (Also, I don’t like shading large areas because there’s so many opportunities for problems to creep in.)
So that’s it! Hope you enjoyed this little glance at how I write and draw cartoons.